
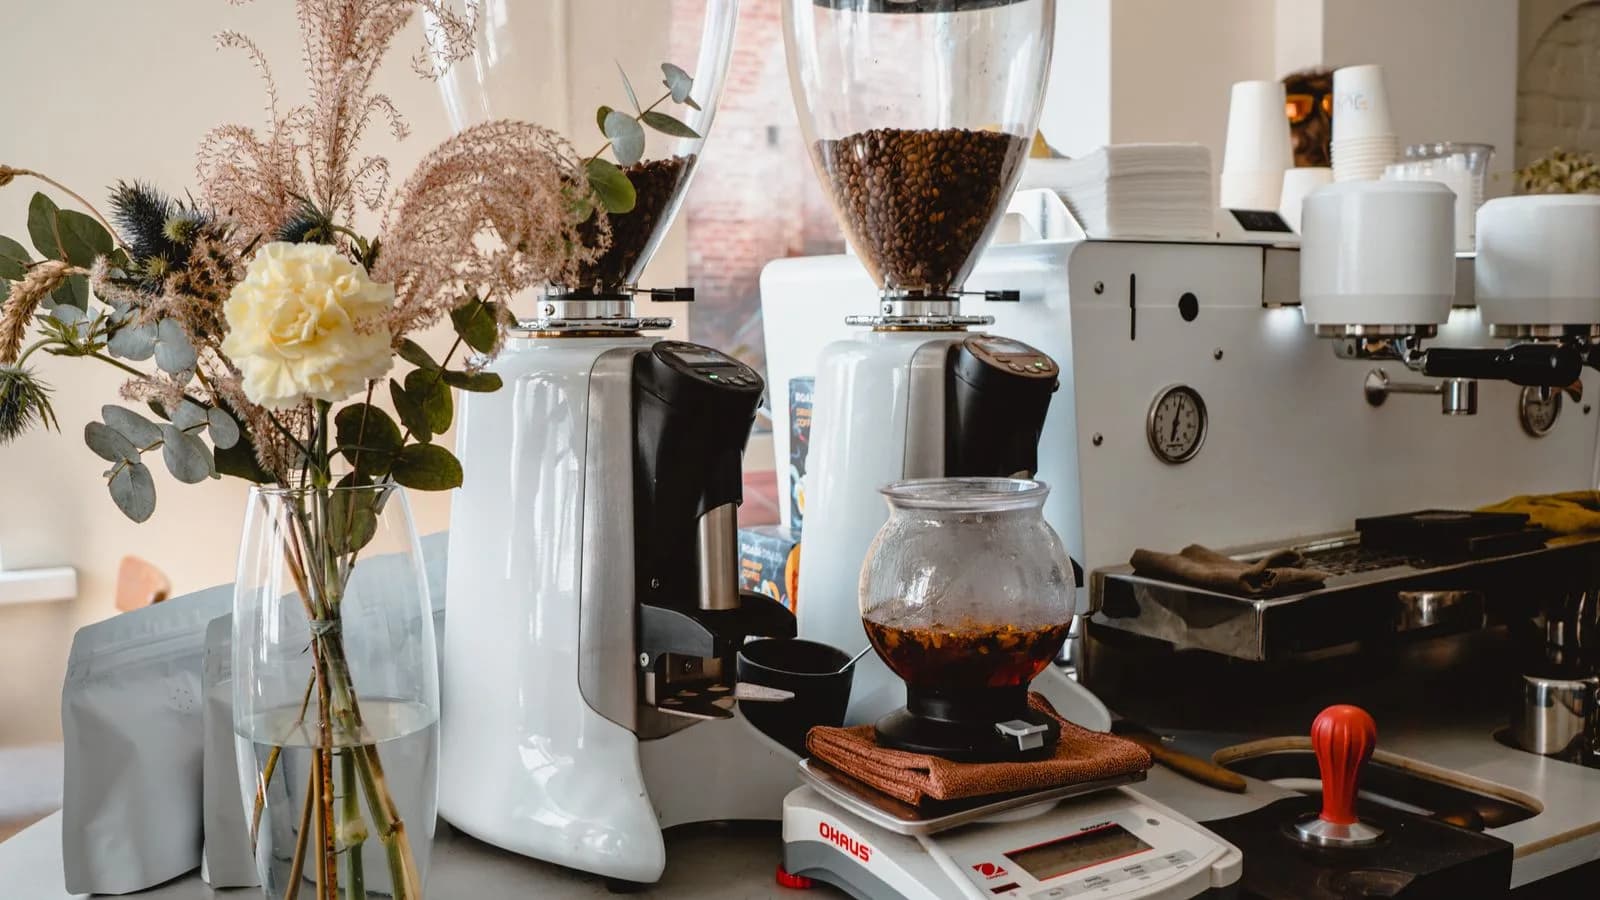
Use the cleaning method for your grinder
An espresso grinder has model-specific parts and removal steps. Start with its manual. Baratza's Vario+ manual describes removing the upper burr carrier with its supplied tool and using a non-metal bristle brush around the burr carrier and top burr.
Clean only the parts the manual approves
- Unplug the grinder before you remove parts.
- Empty the hopper and follow the manual to remove the upper burr or burr carrier.
- Use the approved non-metal brush to remove loose grounds.
- Reinstall each part in the stated order.
- Confirm the grinder is assembled before you power it on.
Use only the tools and cleaning method your manufacturer permits. Different burr sets and grinders use different removal methods.
Keep your old setting visible
Before you disassemble the grinder, write down the current espresso setting. After reassembly, make a small test adjustment only if the machine manual directs it. Cleaning can change retained grounds, but it does not prove that a new grind setting is correct.
Use how to dial in espresso to record the first shots after cleaning. Espresso grind size chart explains the role of a small adjustment.
Stop when the process is not clear
If the burr carrier will not release, a part is damaged, or the manual does not show the procedure, stop and use the manufacturer's support path. A general guide cannot safely replace an exact model manual.
We read Baratza cleaning materials on September 21, 2026. We did not physically test, own, prepare, taste, or measure this method.
Use the linked method for the next step after this task.
Continue with the related methodCommon questions
What should I check before I start?
Unplug your espresso grinder, then follow its manual for accessible parts, the approved brush, and reassembly. Stop if the procedure or a damaged part is unclear.

About Mara Ellis
Mara Ellis is Espresso Receipt’s fictional editorial voice. Warm, practical, and lightly witty, she turns coffee jargon into clear choices for your counter, budget, and next shot.
Read the profile and guides by Mara Ellis →Sources (1)
See an old price or conflicting detail? Send a correction.
How we researched this
We use manufacturer, standards group, government, and authorized-retailer records when available. We label a hands-on result as an observed test only when we name the exact product and test it. A checked price shows what the seller listed on the check date. It can change after that date, and your delivered total may differ.
What the evidence labels mean
- Source checked
- A cited source stated this fact when Espresso Receipt checked it. This is not a physical product test.
- Estimated
- This is calculated from stated inputs and assumptions. It is not a measured result or a current quote.
- Observed physical test
- This is a hands-on result for the exact unit under a stated test method.
- We could not confirm this
- The available sources do not establish one reliable answer.